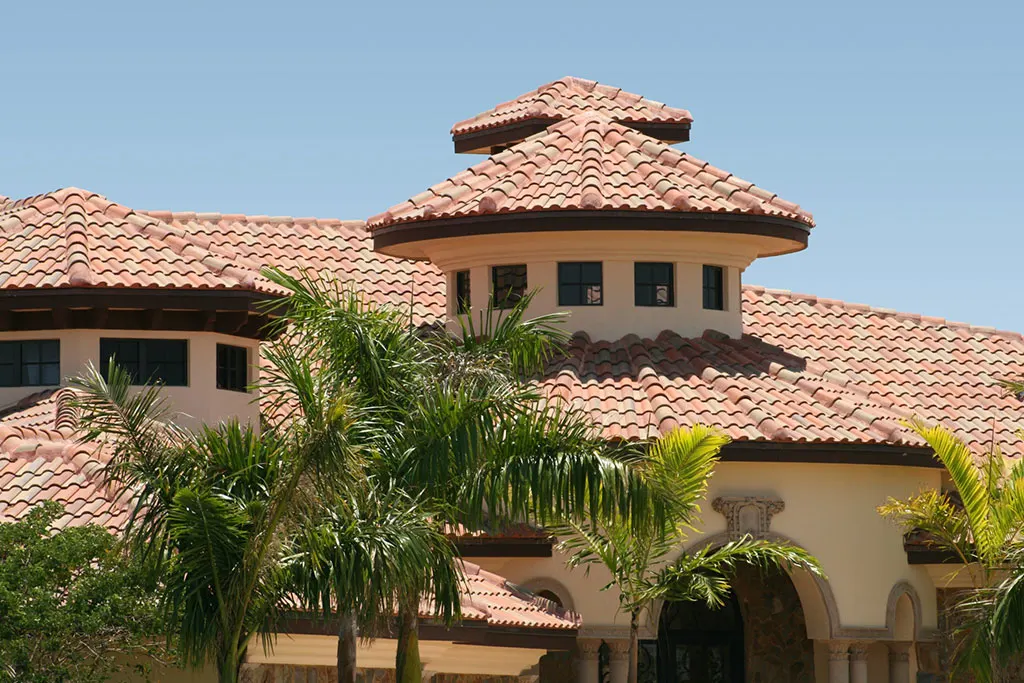
How Long Does It Take to Replace a Roof? Complete Homeowner Guide
Planning a major home renovation raises many practical questions. Homeowners often wonder, how long does it take to replace a roof when scheduling around work, family, and daily routines.
On average, a professional roofing crew can replace a standard asphalt shingle roof on a single-family home in 1 to 3 days. However, specific factors like house size, roof pitch, material choice, and local weather can adjust this timeline. Small homes with simple designs may take just a single day, while large custom homes or complex tile roofs can require 3 to 5 days or longer.

Roof Replacement Timeline Summary Chart
| Roof Material | Average House Size (Sq. Ft.) | Roof Complexity | Estimated Installation Time |
| Asphalt Shingles | 1,500 – 2,500 sq. ft. | Simple / Low Slope | 1 to 2 Days |
| Asphalt Shingles | 3,000+ sq. ft. | Complex / Steep Pitch | 2 to 3 Days |
| Standing Seam Metal | 2,000 – 3,000 sq. ft. | Moderate Complexity | 3 to 4 Days |
| Concrete / Clay Tile | 2,500 – 3,500 sq. ft. | High Complexity | 4 to 6 Days |
| Natural Slate | Any Size | High / Structural Support Required | 5 to 7+ Days |
Key Factors: How Long Does It Take to Replace a Roof?
No two homes are identical. While a typical job finishes quickly, several variables dictate the exact schedule. Roofing contractors evaluate these core elements during your initial inspection.
1. Choice of Roofing Material
If you ask a contractor how long does it take to replace a roof, material choice plays a massive role. Asphalt shingles install fastest because crews can nail them down quickly.
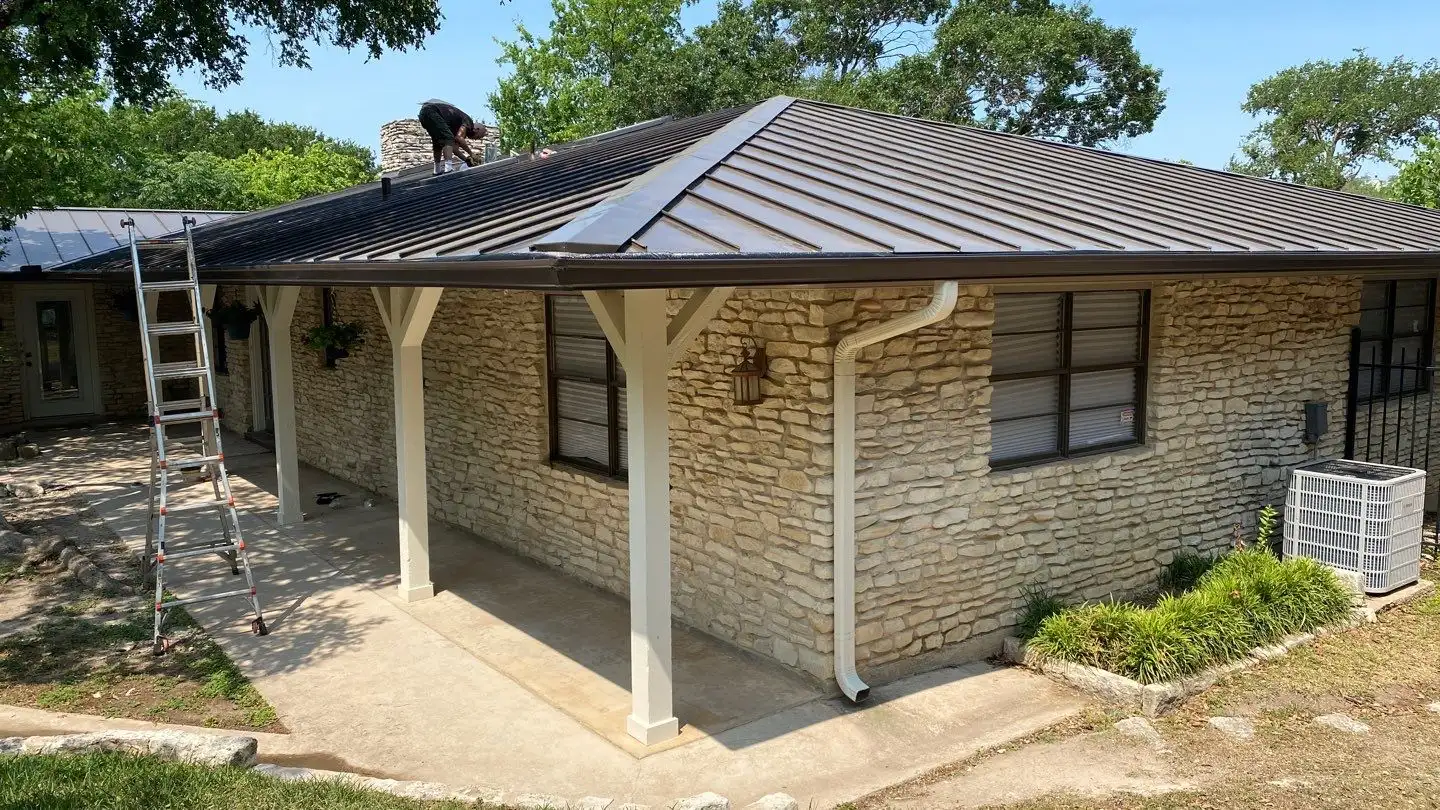
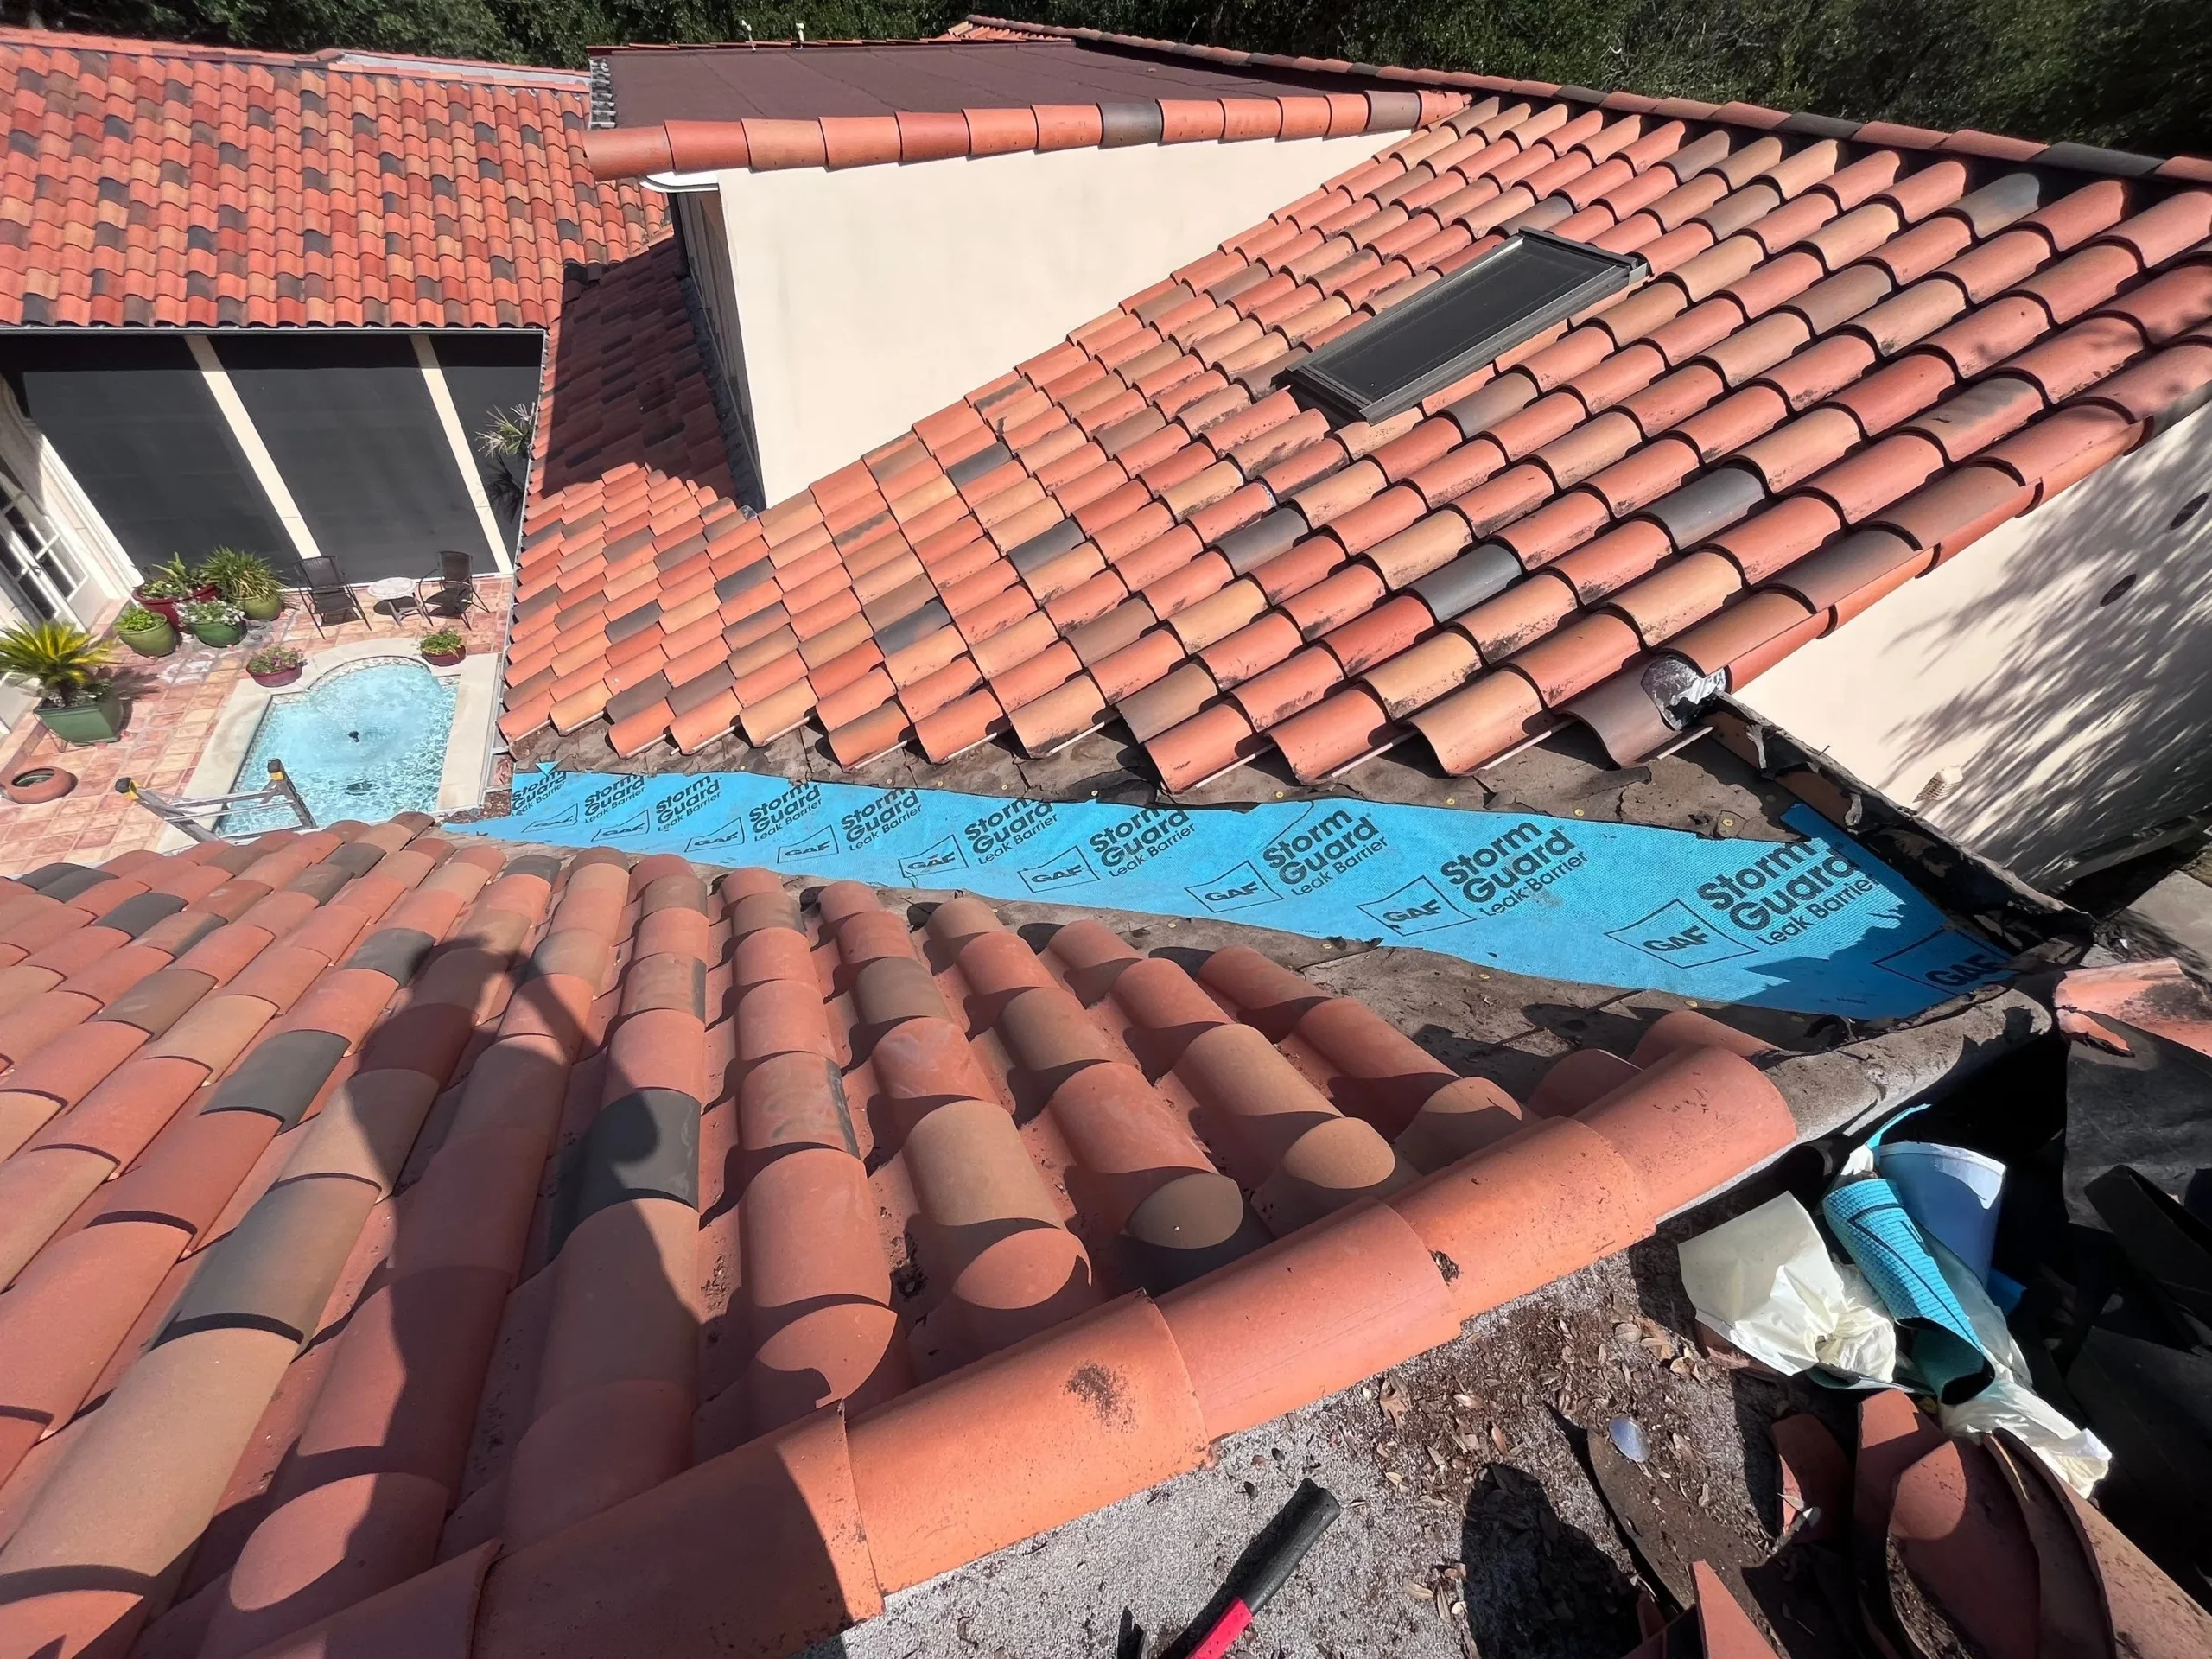
Metal roofing requires precise cutting, custom flashing, and careful panel alignment. Heavy materials like slate or concrete tile require structural framing checks and specialized fasteners. Naturally, these materials extend the project timeline.
2. Roof Size and Architectural Complexity
Roofing professionals measure surfaces in “squares,” where one square equals 100 square feet. A 2,000-square-foot roof takes less time to install than a 4,000-square-foot roof.
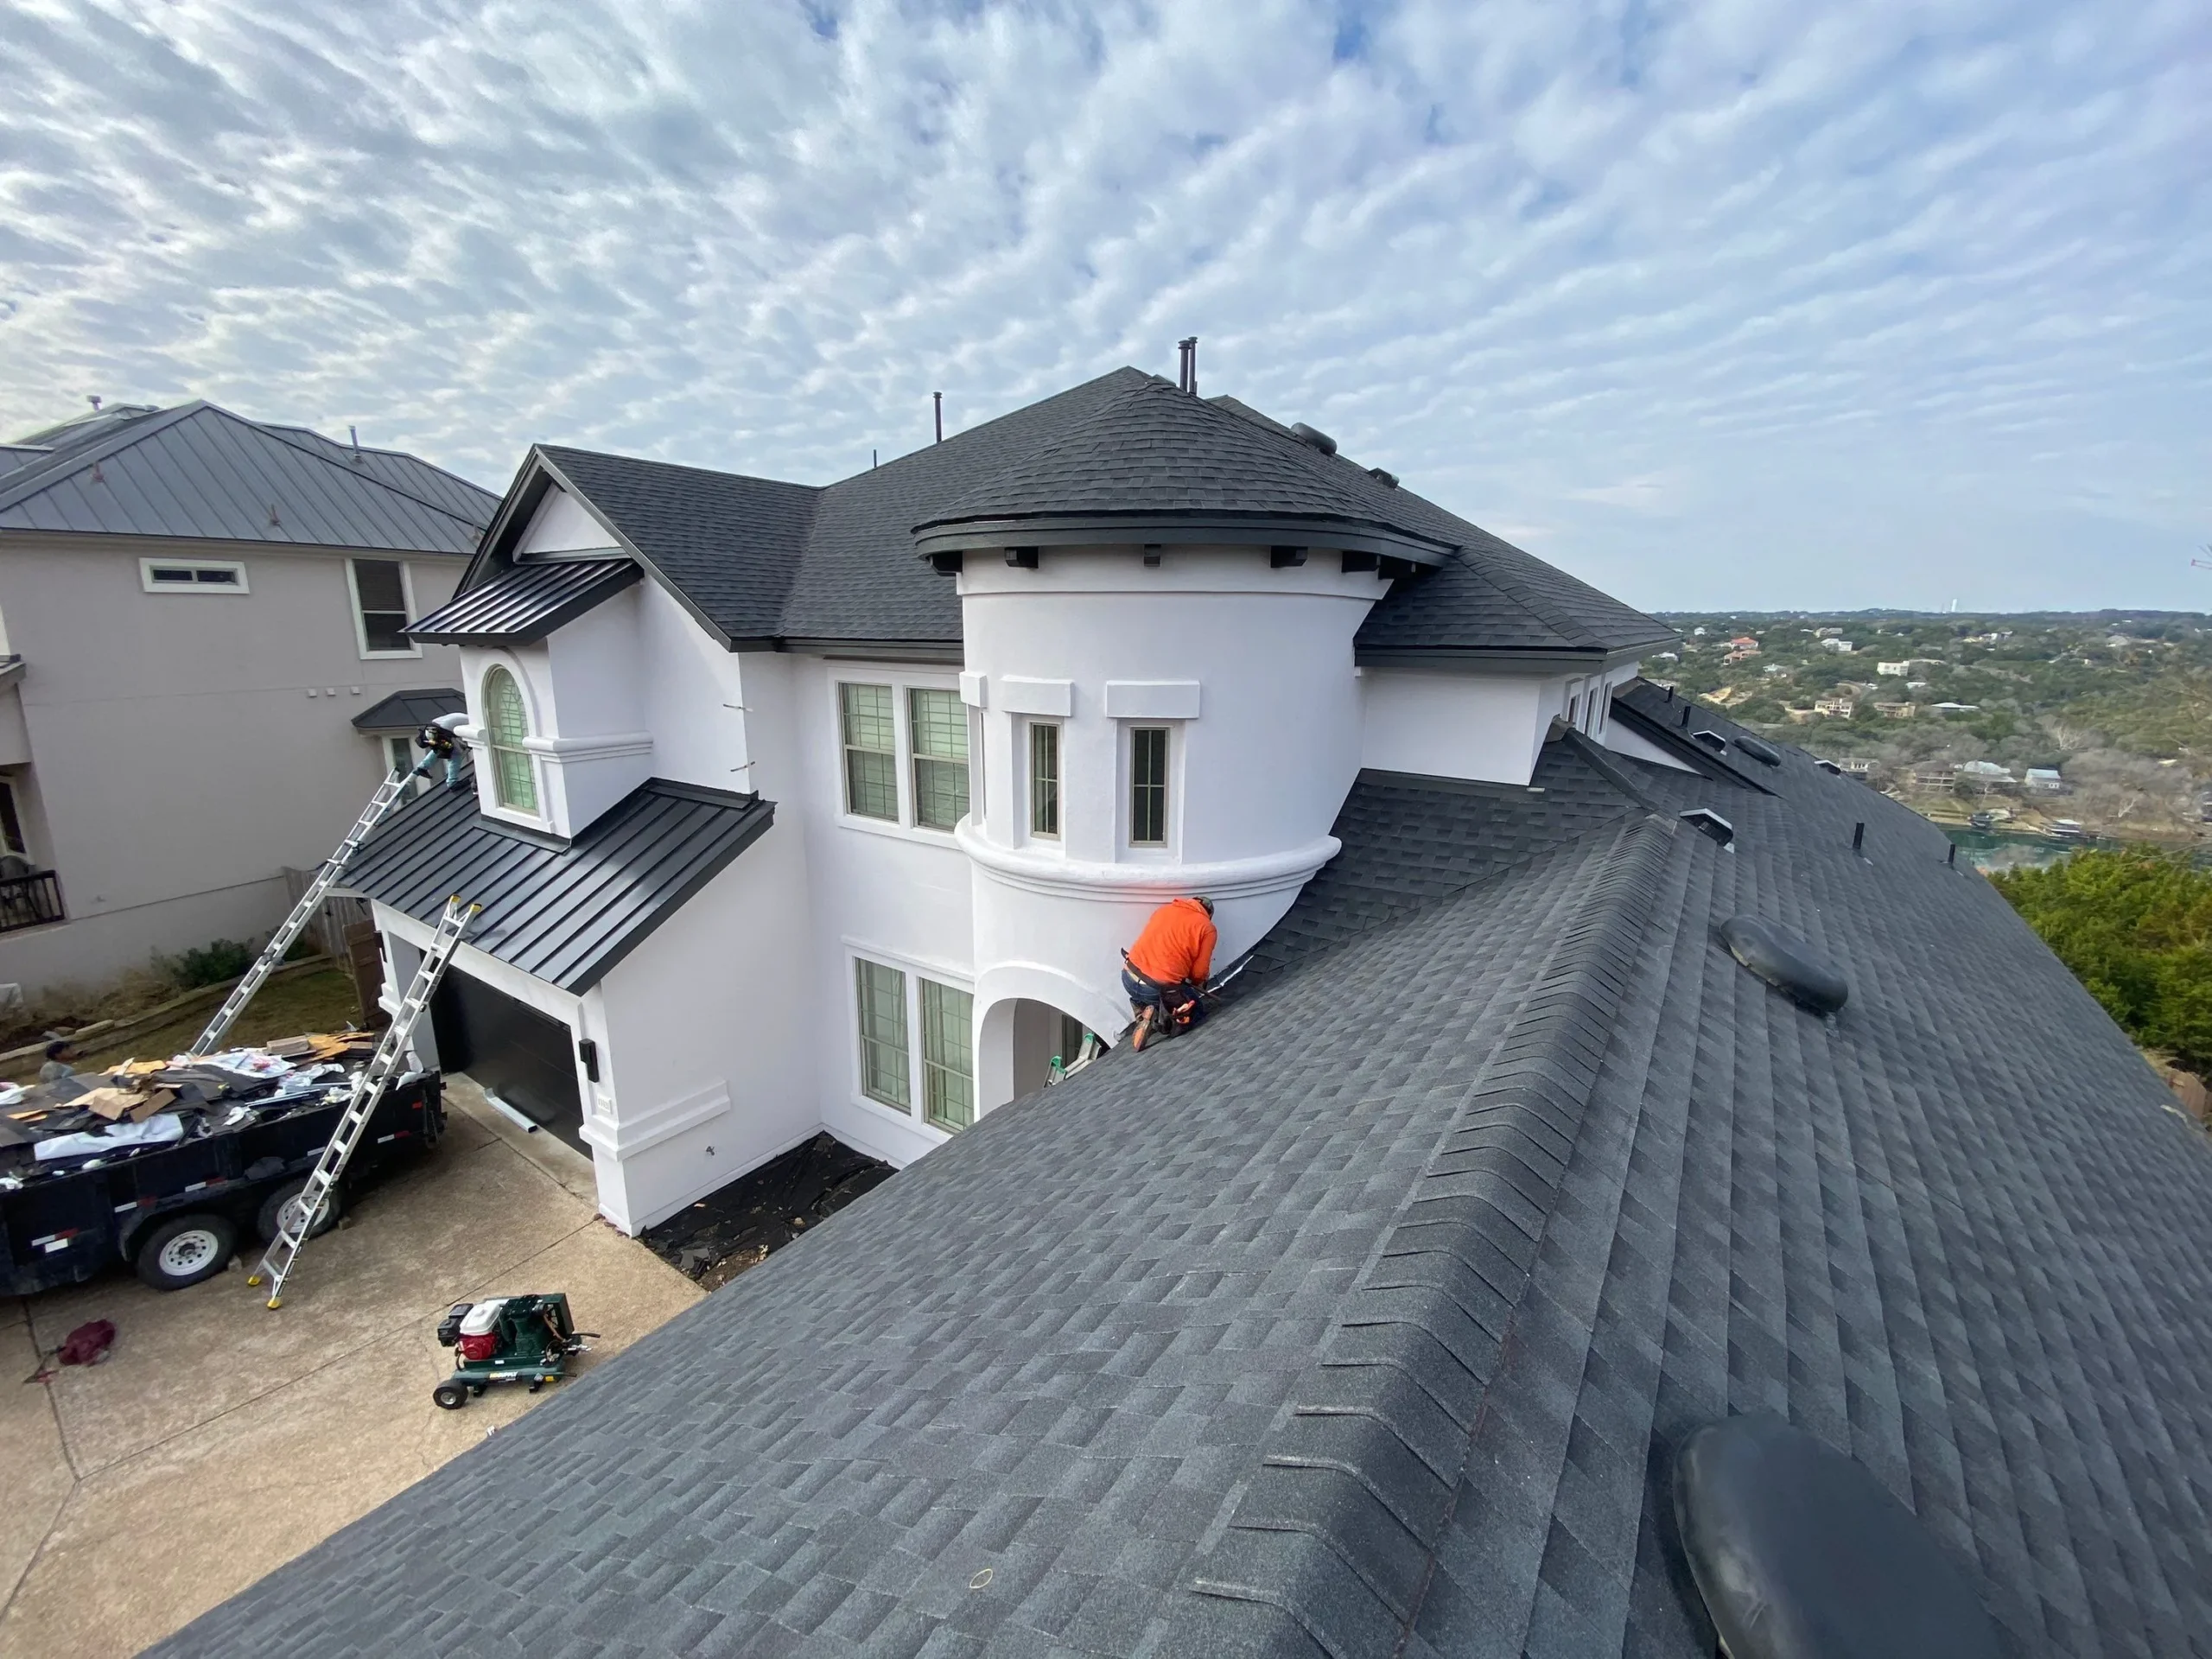
Furthermore, roof design changes the installation pace. Simple gable roofs with few valleys move fast. Complex roofs featuring multiple dormers, chimneys, skylights, and steep angles demand meticulous detail work that slows down installation.
3. Weather Conditions
Roofing crews require dry, mild conditions for safe installation. Rain creates dangerous slipping hazards on roof decking and prevents adhesives from sealing correctly. Extreme heat can soften new asphalt shingles, while freezing temperatures make shingles brittle. High winds also slow down material handling and compromise crew safety.
4. Structural Repairs and Subdecking Damage
Crews cannot inspect the wooden decking beneath your roof until they tear off the old shingles. If crews uncover rotten wood, water damage, or sagging rafters, they must replace the damaged lumber before installing underlayment. Fixing structural issues adds several hours or even an extra day to the job.

The Step-by-Step Roof Replacement Timeline
Understanding the daily sequence of events helps you know what to expect during project execution. A structured workflow ensures your home stays protected from the elements at every stage.
Day 1: Site Setup, Tear-off, and Decking Inspection
The crew arrives early in the morning to park equipment and place protective tarps around your landscaping.
- Material Delivery: Suppliers unload shingles, underlayment, and ridge vents directly near the worksite.
- Tear-Off Phase: Workers strip away old shingles, flashing, and worn felt down to the bare wooden deck.
- Decking Inspection: Technicians inspect the plywood sheets for soft spots, rot, or mold. They replace bad wood immediately.
Day 2: Underlayment and Primary Material Installation
Once the subdeck is secure and clean, crews apply protective waterproof barriers across the entire roof surface.
- Ice and Water Shield: Installers lay self-adhering membrane along eaves, valleys, and around chimneys to prevent leaks.
- Synthetic Underlayment: Crews roll out durable synthetic underlayment over the remaining roof deck to block moisture.
- Shingle or Panel Application: Workers install flashing, drip edges, and start laying down the primary roofing material row by row.
Day 3: Detailing, Cleanup, and Final Quality Check
The final phase focuses on seals, ventilation, and property cleanup.
- Ventilation & Ridge Caps: Technicians install ridge vents and ridge cap shingles to ensure proper attic airflow.
- Property Cleanup: Workers use magnetic sweepers to collect stray nails from your lawn, driveway, and flowerbeds.
- Final Walkthrough: The project manager conducts a detailed inspection to ensure installation meets all manufacturer guidelines.
How Weather and Permits Affect Your Schedule
Roofing projects require careful coordination with local building departments and weather forecasts. Experienced contractors monitor these elements weeks before work begins.
Building Permits and Inspections
Most municipalities require a building permit before replacing a residential roof. Obtaining permits can take anywhere from a few days to two weeks depending on local city offices. Additionally, municipal building inspectors may need to review the roof deck after tear-off or conduct a final review after completion.
Managing Unplanned Weather Delays
Weather shifts can happen quickly. Professional crews check live radar constantly. If sudden rain threatens the site, workers temporarily pause installation and seal open sections with waterproof tarps. Work resumes as soon as surfaces dry safely.
According to research from the National Roofing Contractors Association (NRCA), proper site preparation and moisture control during tear-off are critical steps for protecting home interiors from unexpected weather changes.

Preparing Your Home for Replacement Day
Homeowners can help keep the installation running on schedule by completing a few quick preparation steps before crews arrive.
- Clear the Driveway: Park your vehicles on the street so workers have space for dumpsters and supply trucks.
- Protect Attic Belongings: Tear-off creates vibrations that shake down loose dust. Cover stored items in your attic with plastic sheets.
- Secure Wall Decorations: Remove valuable paintings, mirrors, or framed photos from upper-story walls to prevent falls caused by roof hammering.
- Keep Pets and Children Safe: Construction sites carry noise and debris hazards. Keep pets and young kids indoors or arranged at a secondary location during active working hours.